Solution:
1. Open IDA to disassemble the binary
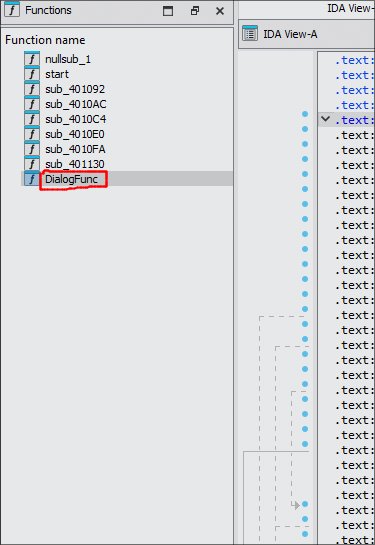
Find the function that initialize the DialogBox. From the Function Panel, we can notice DialogFunc. This is like the “main” function for the dialogbox handler. This is from WndProc class function that runs on 32-bit.
2. Decompile the binary to view the pseudocode in C
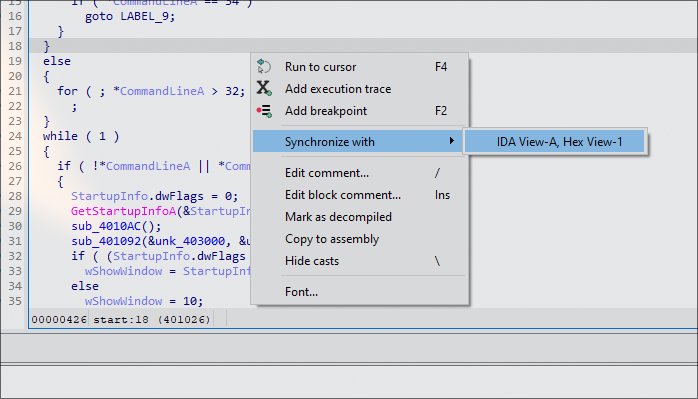
Press F5 to view the pseudocode, drag the panel to the right side, and then right click to synchronize with assembly code. This step is to make it easier to refer C code to assembly back to back.
Next, analyze the code to find the operation where its check the input string validation

GetDlgItemTextA(hDlg, 1000, String, 90);
v4 = 1;
v5 = 0;
v6 = strlen(String);
if ( v6 )
{
do
{
v7 = 0;
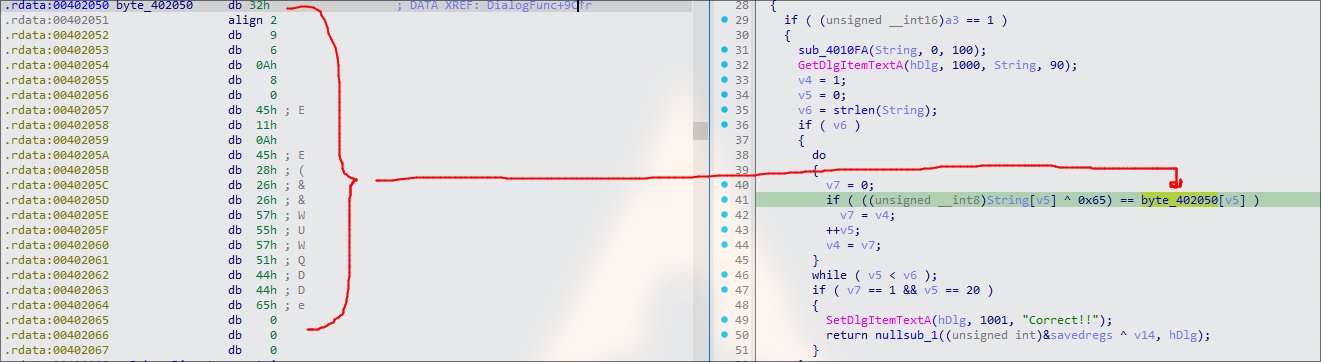
if ( ((unsigned __int8)String[v5] ^ 0x65) == byte_402050[v5] )
v7 = v4;
++v5;
v4 = v7;
}
while ( v5 < v6 );
if ( v7 == 1 && v5 == 20 )
{
SetDlgItemTextA(hDlg, 1001, "Correct!!");
return nullsub_1((unsigned int)&savedregs ^ v14, hDlg);
}
}
SetDlgItemTextA(hDlg, 1001, "Wrong!!");
}
The breakdown:
GetDlgItemTextAis for the string input function andStringis the buffer that holds the input string.if ( ((unsigned __int8)String[v5] ^ 0x65) == byte_402050[v5] ): this is where the checking operation happens,Stringis XOR with0x65and if the result matches withbyte_402050which is a static array bytes locate in the memory, if is correct else wrong.
3. View the contents of byte_402050
Double-click on the byte_402050 and notice the byte array of .rdata section, representing each character in hex. The align 2 ensures that the next data is aligned on 2-byte boundary to improve memory access performance, whereas db is define byte. Finally step is to use this hex byte and XOR with 0x65.
4. Use CyberChef or Python script to decode it
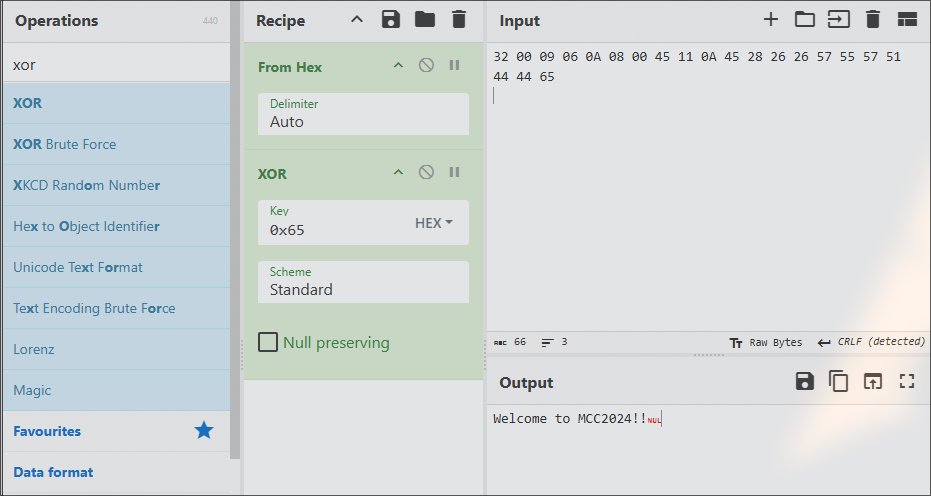
reference_bytes = [
    0x32, 0x00, 0x09, 0x06, 0x0A, 0x08, 0x00,
    0x45, 0x11, 0x0A, 0x45, 0x28, 0x26,
    0x26, 0x57, 0x55, 0x57, 0x51, 0x44,
    0x44, 0x65
]

password = [byte ^ 0x65 for byte in reference_bytes]
password_str = ''.join(chr(b) for b in password)
print(password_str)
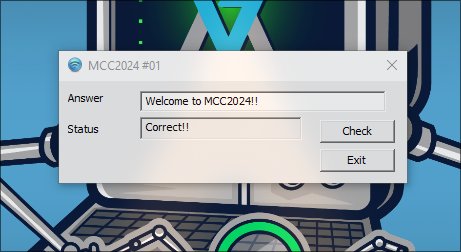
Flag: Welcome to MCC2024!!